For many RV owners, hitting the road isn’t just about getting from one place to another—it’s about creating a mobile home that’s comfortable, functional, and uniquely yours. While the RV itself offers shelter, sometimes you need a little more space and protection. That’s where custom canvas enclosures come in.
These enclosures extend your living area, shield you from bugs and weather, and add an entirely new level of comfort to your RV lifestyle. But how exactly do they come together? Let’s walk through the process of RV canvas enclosure design, from the first idea to the finished product, so you know what to expect when you’re ready to add one to your rig.
Why Go Custom Instead of Standard?
Before diving into the process, it’s important to understand why custom canvas enclosures are worth it. RVs come in all shapes and sizes, and the same goes for how owners use them. Some people want a screened porch to enjoy evenings without mosquitoes, while others prefer a fully enclosed canvas room with clear vinyl windows for all-weather use.
Standard, one-size-fits-all kits often don’t line up with the unique dimensions of your RV, leading to awkward gaps, poor fit, or flimsy construction. A custom enclosure, on the other hand, is designed to match your RV exactly, ensuring proper fit, smooth function, and durability that lasts.
Step One: Consultation and Planning
The process usually begins with a conversation. A professional will talk with you about how you use your RV, what you want to achieve, and what challenges you’ve run into with your current setup.
- Do you need extra space for sleeping, dining, or just lounging?
- Do you camp mostly in hot, sunny climates where shade matters most, or in cooler regions where blocking wind and rain is the bigger priority?
This planning stage helps determine not only the size and shape of your enclosure but also the materials that will work best. For example, mosquito mesh might be perfect for summer camping, while heavy-duty canvas and vinyl windows are better for year-round travelers.
Step Two: Measuring and Assessing the RV
Next comes the most crucial part of RV canvas enclosure design, the measurements. Every RV has its own quirks: slide-outs, awnings, entry points, and rooflines that can make installation tricky. A professional installer will carefully measure your RV to ensure the canvas enclosure fits seamlessly.
Accurate measurements are essential because even an inch off can mean drafts, leaks, or awkward angles. With custom work, these details matter. The goal is to create a structure that feels like a natural extension of your RV, not an add-on that doesn’t quite line up.
Step Three: Choosing Materials and Features
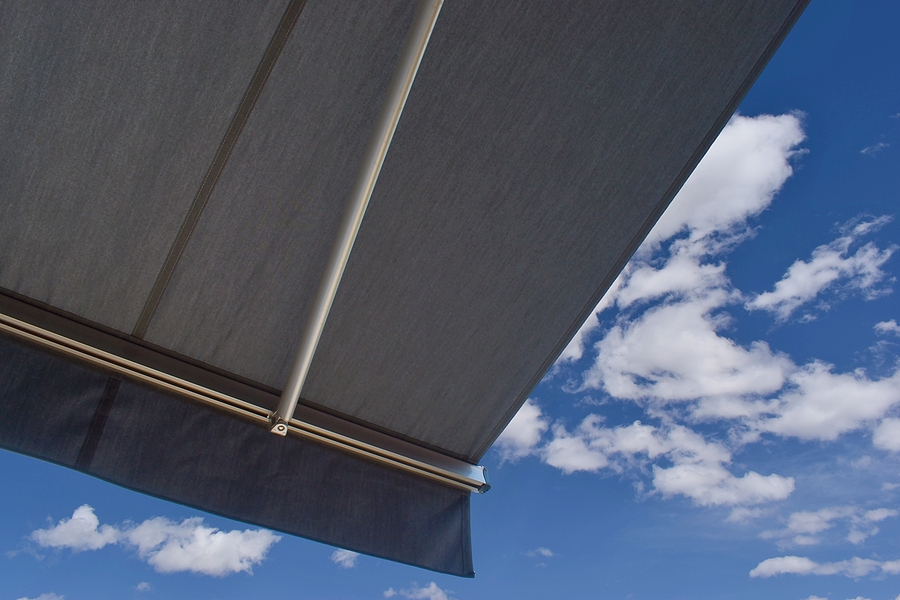
Once measurements are in place, you’ll choose the materials. High-quality custom canvas enclosures use fabrics that are UV-resistant, mildew-resistant, and strong enough to withstand years of use. Many enclosures also incorporate clear vinyl windows, roll-down panels, and zippered doors so you can adjust airflow and visibility to your liking.
This is also the stage where you can add features like privacy panels, storage pockets, or screened sections. Some RV owners prefer enclosures that zip open on all sides for a breezy feel, while others want the option of fully closing it up like an additional room.
Step Four: The Design Phase
After materials and features are selected, the design phase begins. Using your measurements, installers create a detailed plan that shows how the enclosure will attach to your RV and where each panel will go. This step is all about precision—mapping out seams, zippers, and reinforcements so the finished product is both functional and attractive.
The RV canvas enclosure design may include mockups or drawings, giving you a chance to see what your finished space will look like. If adjustments are needed, this is the time to make them before the fabric is cut.
Step Five: Fabrication
Once the design is finalized, it moves to fabrication. Skilled craftspeople cut and sew the panels, carefully reinforcing stress points where the enclosure will bear weight or experience strain. Industrial sewing machines and weather-resistant thread ensure the enclosure can stand up to outdoor conditions.
Each section is crafted with precision so it lines up exactly as planned. For RV owners, this stage is exciting because it’s when the vision starts becoming real.
Step Six: Installation
Finally, it’s time for installation. The enclosure is fitted onto your RV, with each panel attached securely. Depending on the design, this may involve connecting to an existing awning, attaching to the side of the RV, or using support frames.
Installation isn’t just about attaching fabric; it’s about ensuring everything is taut, aligned, and operates smoothly. Zippers should move easily, windows should roll up and down without snagging, and panels should sit snugly without sagging. A professional installation ensures the enclosure not only looks great but also performs exactly as intended.
Living With a Custom Canvas Enclosure
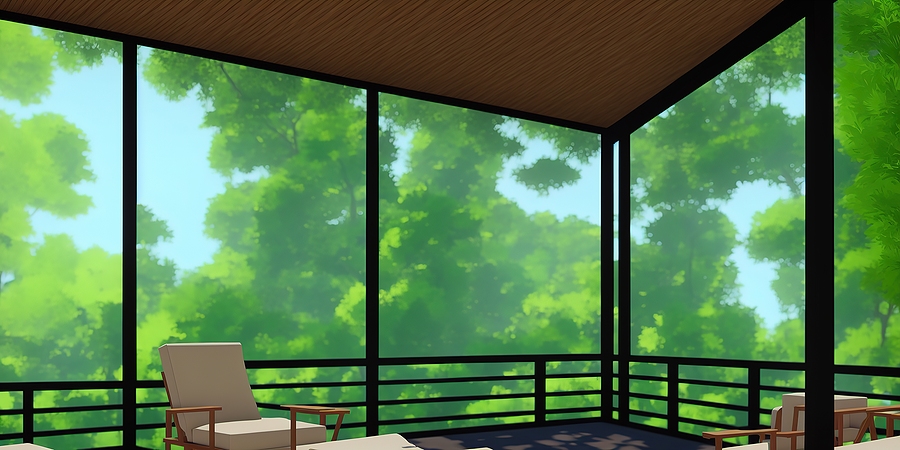
Once your enclosure is installed, the benefits are immediate. You’ll gain a protected outdoor living space that feels like an extension of your RV. Whether you’re eating breakfast bug-free, relaxing in the shade on a hot afternoon, or staying dry during a sudden rain shower, the enclosure quickly becomes one of the most valuable parts of your RV setup.
Maintenance is fairly simple. Regular cleaning with mild soap and water helps keep the fabric looking fresh. Letting panels dry before storing them prevents mildew, and periodic inspections ensure zippers and seams remain strong. With proper care, a quality custom canvas enclosure can last for many years.
Why Custom Work Is Worth the Investment
Some RV owners hesitate because a custom enclosure is more of an investment than an off-the-shelf kit. But the difference in performance, durability, and appearance makes it worth it. A well-designed, custom-fit enclosure adds to the comfort and value of your RV in ways that generic products simply can’t match.
It’s not just about keeping the bugs out or staying dry; it’s about having a space that feels like it belongs to your RV, designed around how you actually use it. That level of personalization makes traveling and camping so much more enjoyable.
Ready to Upgrade Your RV?
Creating a custom canvas enclosure for your RV is a process that combines planning, precision, and craftsmanship. From the initial consultation to the final installation, every step is about tailoring the enclosure to your unique RV and lifestyle. The result is a functional, comfortable, and durable space that makes every trip more enjoyable.
When you invest in custom canvas enclosures, you’re not just buying fabric—you’re investing in a design built around your travel needs. Whether you’re after shade, bug protection, or an all-weather extra room, the process ensures you end up with a solution that works perfectly for you.
If you’re ready to expand your RV living space with a custom-built solution, Canvasworks Inc. is here to help. Their team specializes in RV canvas enclosure design and fabrication, creating durable, stylish enclosures that fit your rig like a glove.
Contact Canvasworks Inc. today to start the process and see how a custom canvas enclosure can transform your RV adventures.